There is not that much to the disassembly without really tearing into the heat sink fan assembly and the LCD displays. It did not occur to me to take pictures until I had it all open. This started so i could deal with heat issues.
All of the screws on the card were Phillips head. Everything can be done with a #1 and #2.
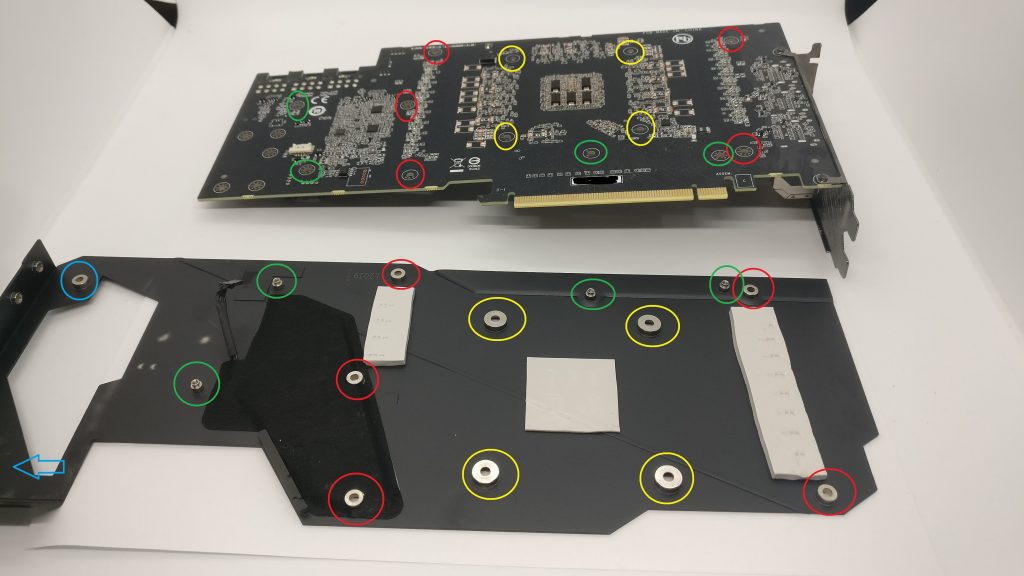
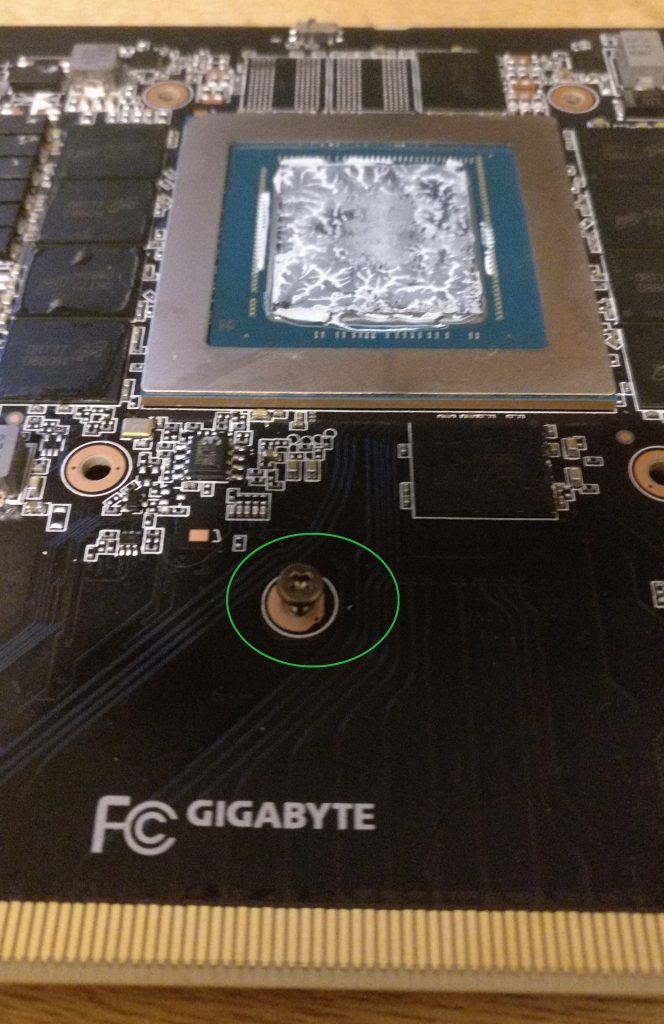
From the back of the card there are 5 “medium sized” screws on the back of the card (red circles). There are the 4 screws that are around the GPU it self (yellow circle) with springs on them. These are slightly larger then the other screws.
There are then 2 small screws on the end of the card (blue) that hold the back plate to the heat sink.
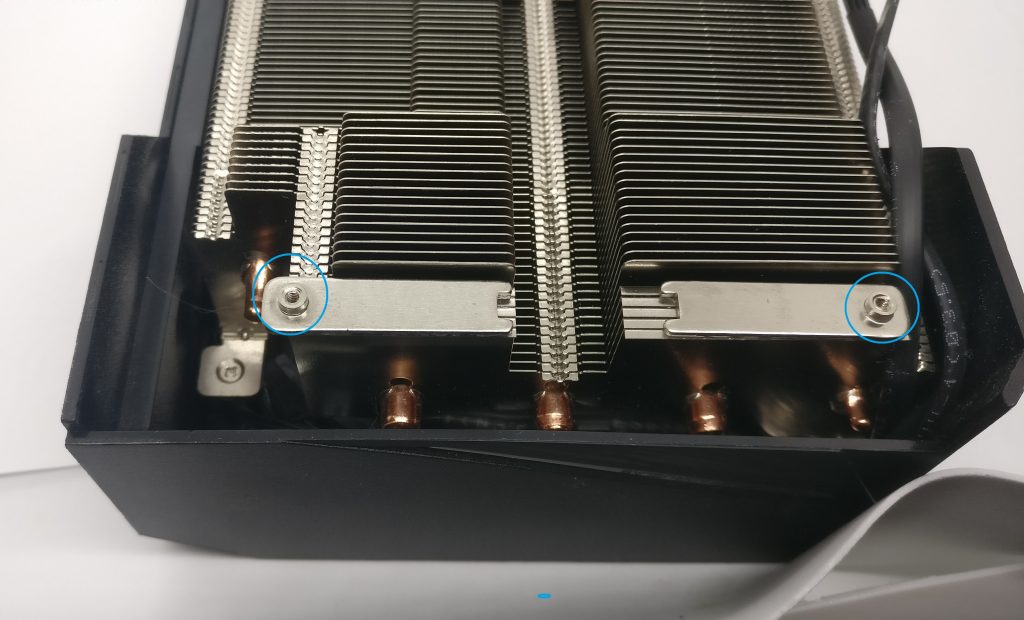
Once all of these screw are removed the card and back plate separate from heat sink / fan assembly. There are 4 cables that connect the heat sink to the card it self. The thermal pads and thermal paste on the GPU is all that is holding it together. The cables will only give you a couple inches to work with until they are removed from the card.
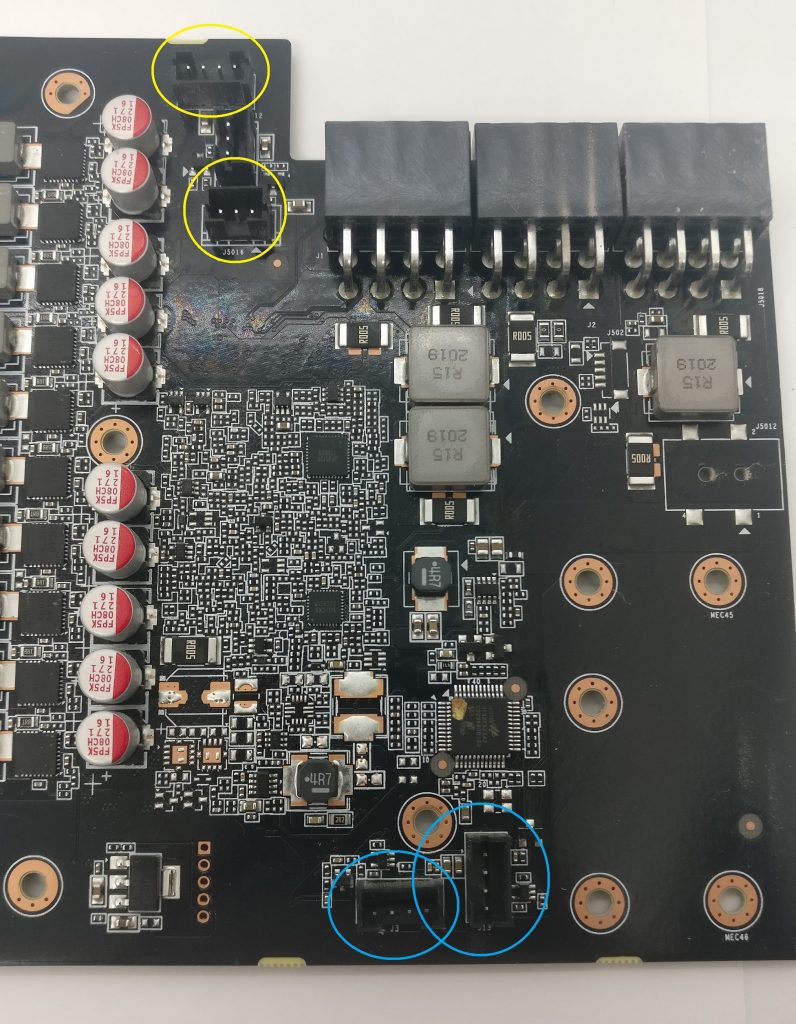
The yellow circles are for the fans. It is a 3 fan card but only 2 headers are used. The headers are different sizes so easy to put back together.
The blue circles are for the LCD and RGB effects. These looked to be the same size so mark the cables so you know which came from each connector.

The 4 small screws that connect the card to the back plate. I think they are the same size as the blue circle screws that hold the heat sink to back plate from before but I had everything separate and did not compare them.
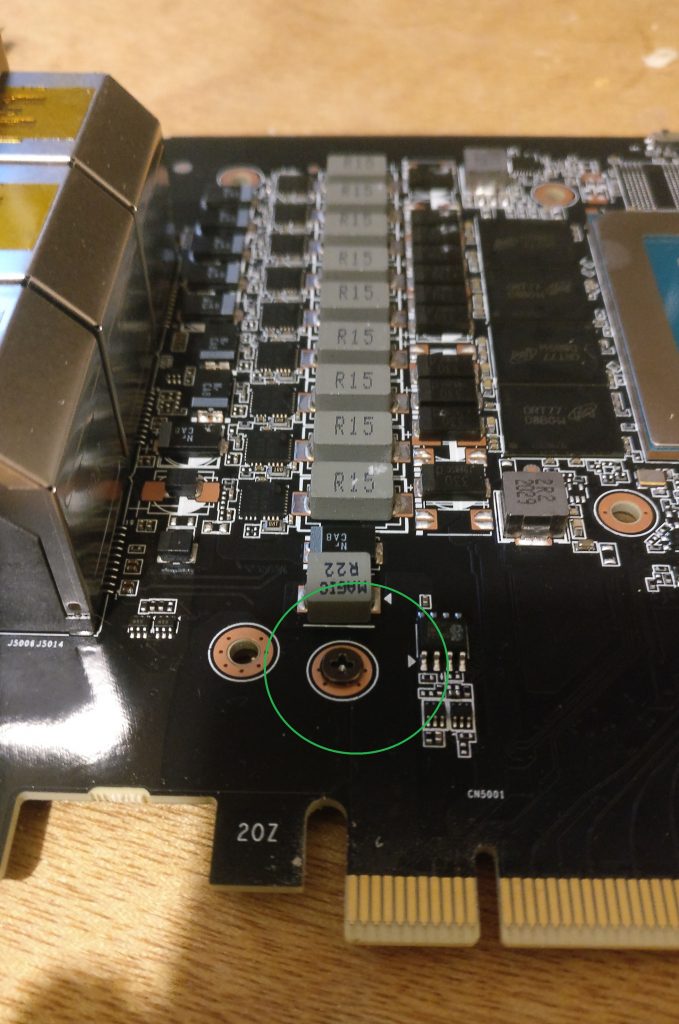
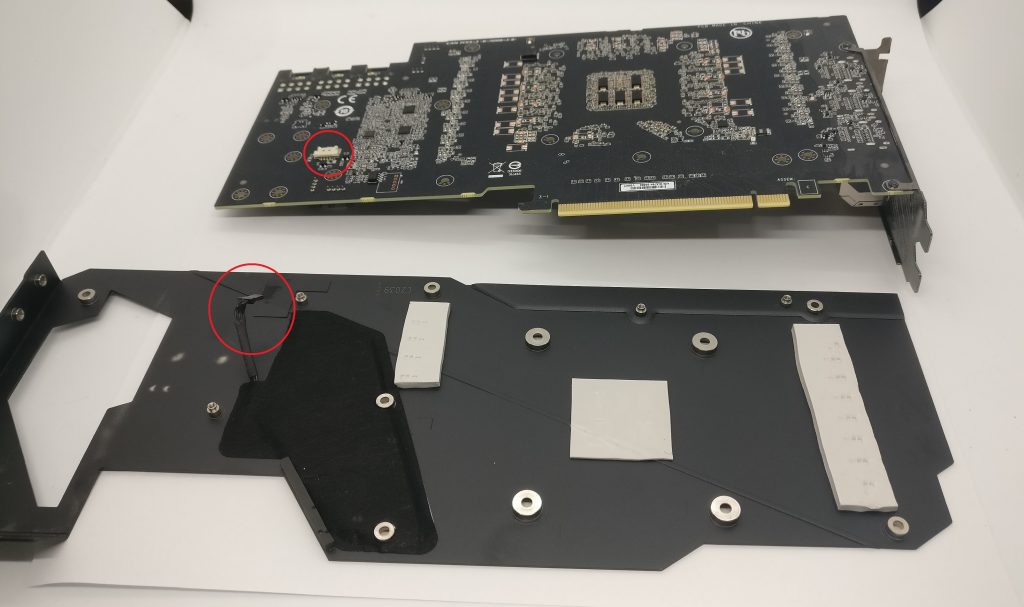
Once the 4 screws are out the back plate comes off. Again just the thermal pads holding it together. Again there is a short cable connecting the back plate to the card. This was the hardest part of the disassembly / reassembly.
The cable is short and hard to access. Separating the cable from the connector was difficult because getting tools into it was a challenge. I could not move things around enough to get direct access to the parts so had to use tools to reach into the gap and separate them. This is the one part that I thought I was going to break.
Select a wallet to accept donation in ETH BNB BUSD etc.. Donate Via Wallets
Donate Via Wallets